Breathe!
Your Superintendent and your School Board have made the decision to start the school year either virtually or in a hybrid model. You FINALLY know what the beginning of your school year will look like. Now what?
Think back to Friday, March 13, 2020 when we all left our schools and offices THINKING we'd be back in 2 to 3 weeks once COVID-19 had run its way through your city and state. Well....here we are 17 weeks later and there is still no end in sight. Back in March, as we continued instruction, we were bobbing to keep our heads above water. We were putting a band-aid on the remainder of the semester and doing the best with what we had. I hate to break it to you friends, but that time is over!
It's time to create your "Return to Learn" plan!!!
Now that we know what the beginning of our school year will look like, it's time to make some changes and some definite plans to deliver the best possible version of instruction to your students, NO EXCUSES!
The first thing I'd suggest is getting your "Return to Learn" together. Ask yourself the following questions:
- What level of technology will your incoming students have access to (Chromebooks, iPads, Windows devices, etc)?
- Will your students have wifi access to accompany their devices?
- What standards are you adhering to?
- Do you have a content management system available in which to help lead instruction?
- Do you have a learning management system in which to host a virtual classroom (Google Classroom, Microsoft Teams, Moodle, Canva, Blackboard, Seesaw, etc)?
- What tech tools are you familiar with?
- Which tools do you need to spend some more time with?
- How will you design your lessons to be authentic and not simply "check box" lessons?
***This should go without saying BUT the technological device and the edtech tools are NEVER the answer to delivering good instruction. It is simply the vehicle to deliver the instruction. YOU, the teacher, are the answer to delivering good instruction!!!***
Because we are starting off virtually, it's going to be more important than ever to start with a VERY strong routine for both the sanity of you and your students! Even before Day 1, there are some things that you can do and put into place.
How about creating a Flipgrid for your incoming students? This will give you a chance to introduce yourself to your students and their families as well as have your students introduce themselves to you and their classmates. Included in your student's responses could be:
- Their name WITH the proper pronunciation!
- Is there a nickname that they prefer to be called?
- Did they read a favorite book this summer?
- What is something interesting they did during the summer?
- What are they looking forward to this year?
- Maybe even include a moderated topic that provides them the opportunity to voice any concerns they may have coming into a virtual school year. Also ask they how they best learn. This information will allow you to cater to their learning style during the virtual beginning of the year and beyond.
Communication with your students and especially their parents/caregivers is going to be key! Find different ways to make this happen. Maybe you have several modes of communication to make sure that everyone is on the same page.
- Have your parents sign up for Remind.
- Email them newsletters using different programs such as Microsoft Sway or SMORE.
- Create videos using Google Meet, Zoom or Screencastify with introductions, expectations, and procedures,
- Send snail mail for those that may not have internet access at home
- A good old fashioned phone call can also go a long way!
- Create a Google Voice phone number so you can communicate with students and parents without providing your personal phone number. Voice messages can be transcribed. Teachers can also set "office hours" to receive calls from students/parents. Unfortunately this feature is not available with your school Google account so you would have to use your personal Google account.
Flipping your classroom:
Before we get to some ideas let's talk about the idea and benefits of flipping your classroom. The term "flipped classroom" has been around for a few years but I think it could be extremely beneficial now, more than ever! What does it mean to flip your classroom? Well, in simple terms, you would create instructional videos that your students can watch ahead of your direct instruction time. Why would you do this? Here are 4 reasons!
- It allows your students to come into the direct instruction time with a base of knowledge for what will be discussed.
- When it's time for your direct instruction time, you are able to go more in depth about the content, have more time to help students that may need further assistance, and have more time to help students create projects around the content.
- Students have access to these instructional videos and can stop and start them as needed. They can view them at their own pace when needed for instruction and for review.
- It creates a library of content that they have at their fingertips and can always come back and refer to.
 Ten ideas to get you started thinking about delivering instruction virtually in an engaging way:
Once you've gotten to Day 1 and you're ready to begin instruction, I'd like you to start to think NOW about how you will deliver instruction and some ideas to keep your students engaged in their learning. The whole point is make sure that your students are active participants in their virtual learning as opposed to simply passively listening to you lecture. Here are TEN ideas to get your creative juices flowing!
Ya'll know this is my go-to tool! With all of the updates coming in August, this tool is going to be a no brainer to allow your students the opportunity to have their voices be heard as well as showcase their learning. If you're new to Flipgrid or need some ideas of how you can use this to engage your students, check out their Disco Library. It's FULL of ideas to get you started. The great thing is that the topics and ideas that are there can be altered to meet the needs of your students.
Any of these tools would be great to use to flip your classroom and record your lessons ahead of time so your students are able to view them ahead of direct instruction. These (Google Meet, Microsoft Teams or Zoom) are also great places to host your direct instruction. Some districts may lean towards one tool more than another so check with your administration but all of them could work.
3. Google Classroom or Microsoft Teams-
Both of these tools are GREAT for the management of your virtual classrooms. Upload assignments. Provide assessments. Create discussions. Include links to other resources. The sky is the limit! Again, your district may have a preference for which you will be using so check with administration.
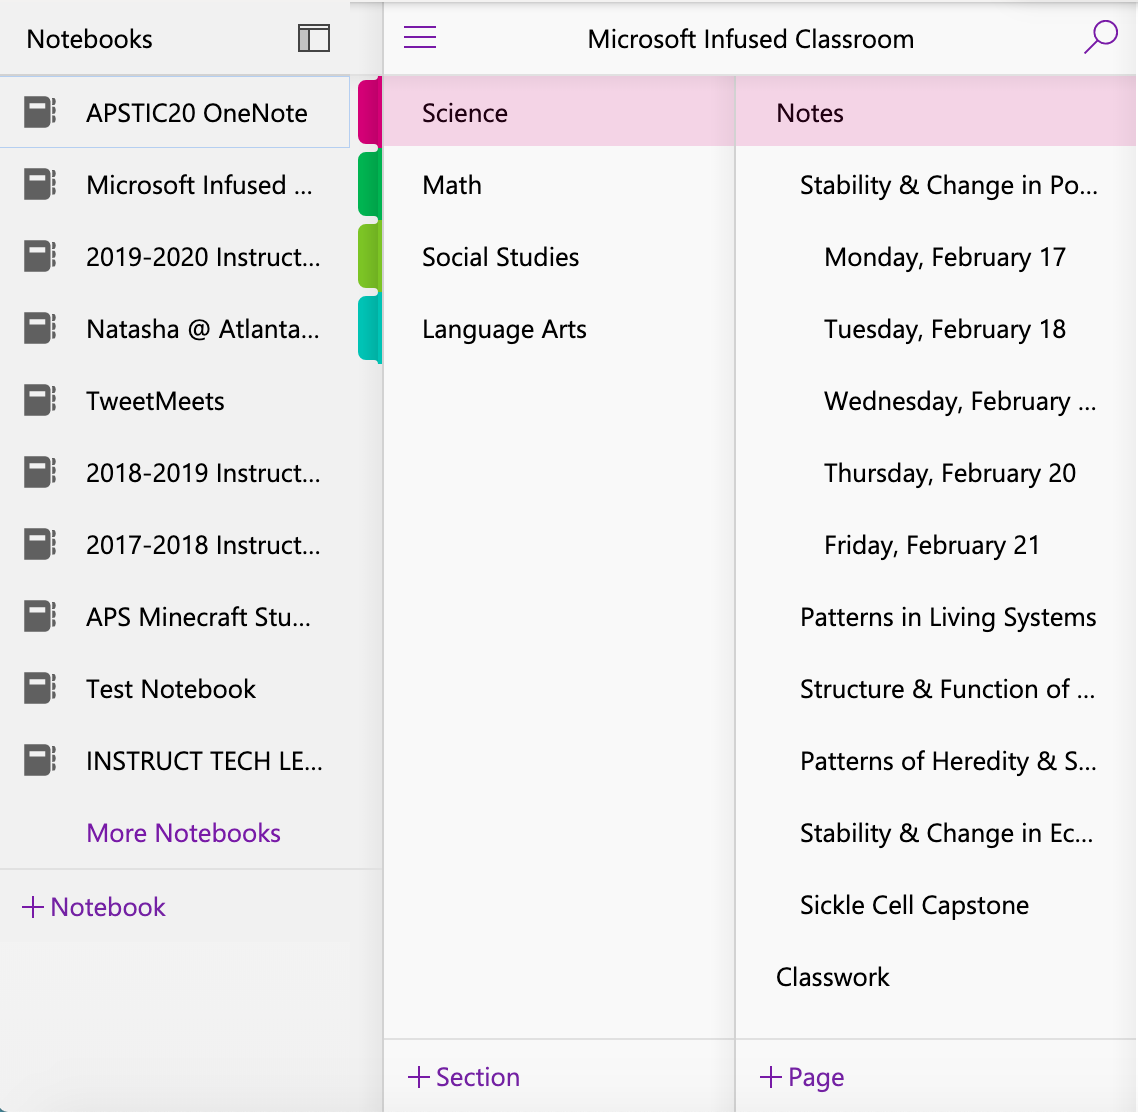
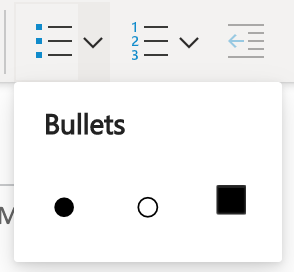
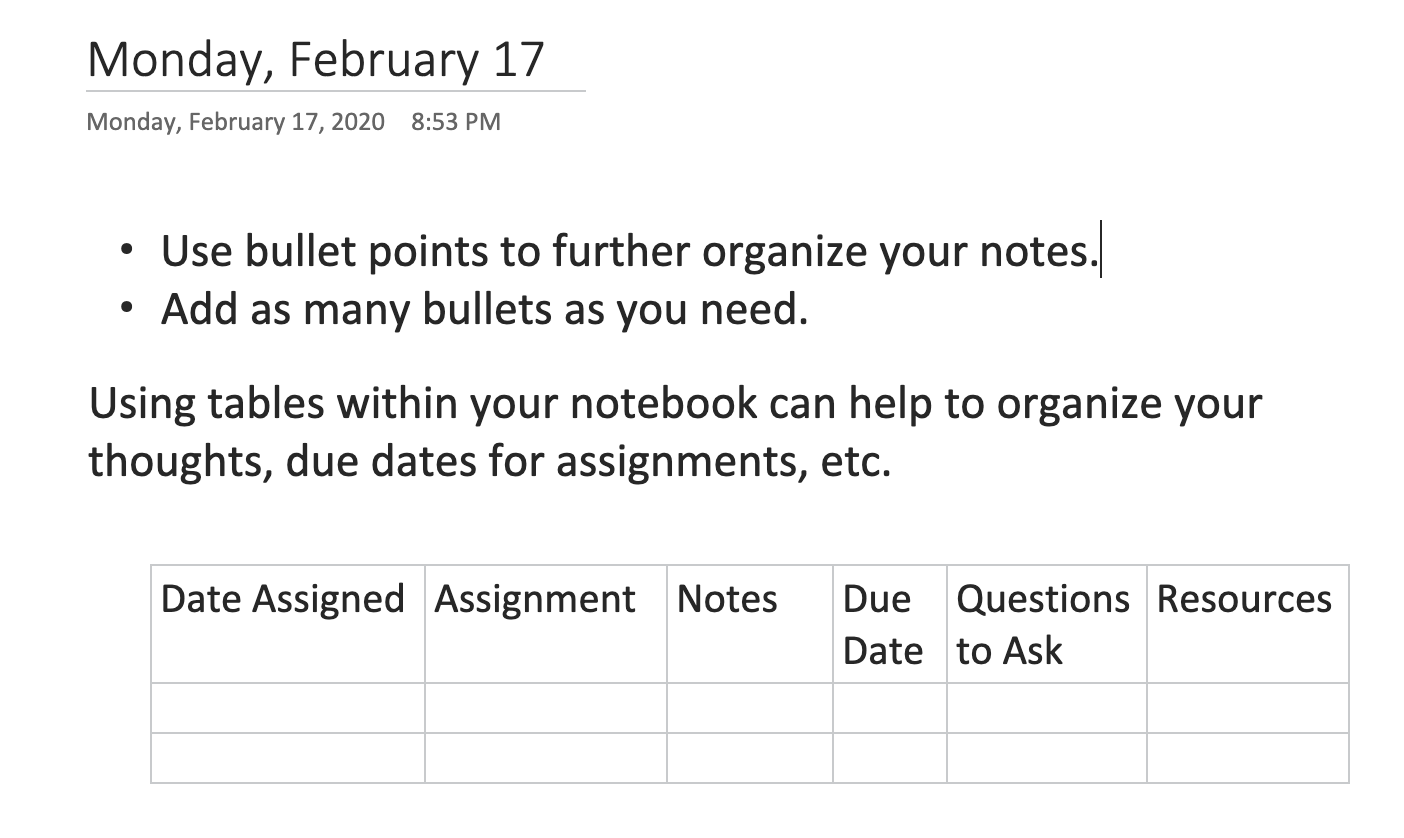
4. Microsoft OneNote-
This is a great opportunity for your students to create digital notebooks to keep up with their notes and all that they're learning. This is a great way for your students to get organized for the semester. For those of you that are a "Google district," no worries. ALL educators AND students have access to a FREE Office 365 account and can access the ENTIRE Microsoft Suite (including OneNote) with their school email address. Sign up here:
https://www.microsoft.com/en-us/education/products/office
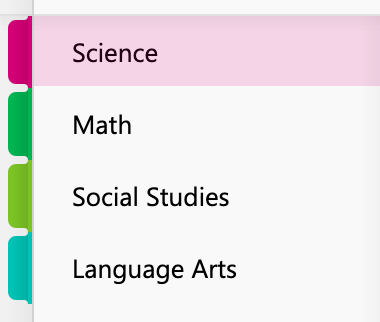
5. Microsoft Class Notebook-
Go all in with Class Notebook! Class Notebook allows for personal workspaces for each of your students. A content library houses all of your virtual handouts. There are also collaboration spaces for lessons and other activities that your students will complete.
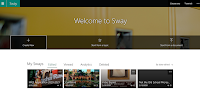
It still baffles me how many people don't know about Microsoft Sway! This is an easy to use tool that allows you (the teacher) to create quick and easy newsletters for your parents, or lessons and HyperDocs for your students. It allows your students to showcase their learning in a quick and easy way. They could create book reviews/reports, engage in digital story telling, collaborate and share ideas with each other, create presentations, etc.

If you haven't checked out Jamboard yet, do so now! It's a VERY simple whiteboard tool that allows your students to collaborate quickly by adding post it notes, text and images to a "board." You could ask a question and have students quickly add their responses and discuss as a class. If your students have touch screen devices, they can use their fingers to "ink" their thoughts. This is great for math classes! You could also use Jamboard to deliver direct instruction by sharing your screen via Google Meet, Zoom, or Microsoft Teams. Record your screen using Screencastify as you are going through a Jamboard for a flipped classroom experience. Share the link to your Jamboard with either viewing or editing rights depending what you want your students to be able to do with it.
I love the idea of using Peardeck or Nearpod to engage your students during direct instruction. This is a great way to ensure that your students are on the same page as you during the lesson as you advance the slides and check for understanding during the lesson with the built in engagement activities.
I have yet to meet a student in kindergarten through 12th grade that doesn't LOVE these games! With these tools, students are able to learn and compete at the same time! A little healthy competition doesn't hurt anyone! The reporting that the teacher receives on the back end is great to understand which students may need further assistance with the content.
Using Padlet is a great way to see your students respond in "real time" to the questions that you are posing to your class. Padlet has changed over the years and has a limit on how many free Padlets you can create. To get around this, I use the same ones over and over again by deleting the content once we've used that one. Of course, you may want to take screenshots of the responses so you can have them to refer to if needed before you delete anything!
Are you still reading? If you made it to the end of this post, thank you! My mind is racing and I just had to get these thoughts out there! How are you planning to "return to learn" this fall? What tools will you use to engage your students and provide engaging instruction to your students? I look forward to hearing your thoughts!