Remember when you were in middle school and wanted to carry around a Trapper Keeper so you could be like the rest of the cool kids? It made you cool because you could snap or zip up your binder that was filled with loose leaf paper and dividers with pockets? Extra points if you had Pee-Chee folders! Or maybe that was just a California thing??? That was sooooo 1980s!

I've seen several different versions of digital notebooks all across the internet, but in my opinion there is one that reigns supreme over all of the others. There really is no comparison! And if you've played around with all of them, or even some of them like I have, then you know what I'm about to say! Microsoft welcomes you to the 21st century with their version of the digital notebook called OneNote! Cue the singing angels!
OneNote is FREE to all educators and students when using their school Office 365 accounts. Students and teachers are able to easily create, personalize and differentiate their learning with digital notebooks that are easily accessible across all platforms.
Without further ado, here are my top tips to personalize and differentiate learning through using OneNote!
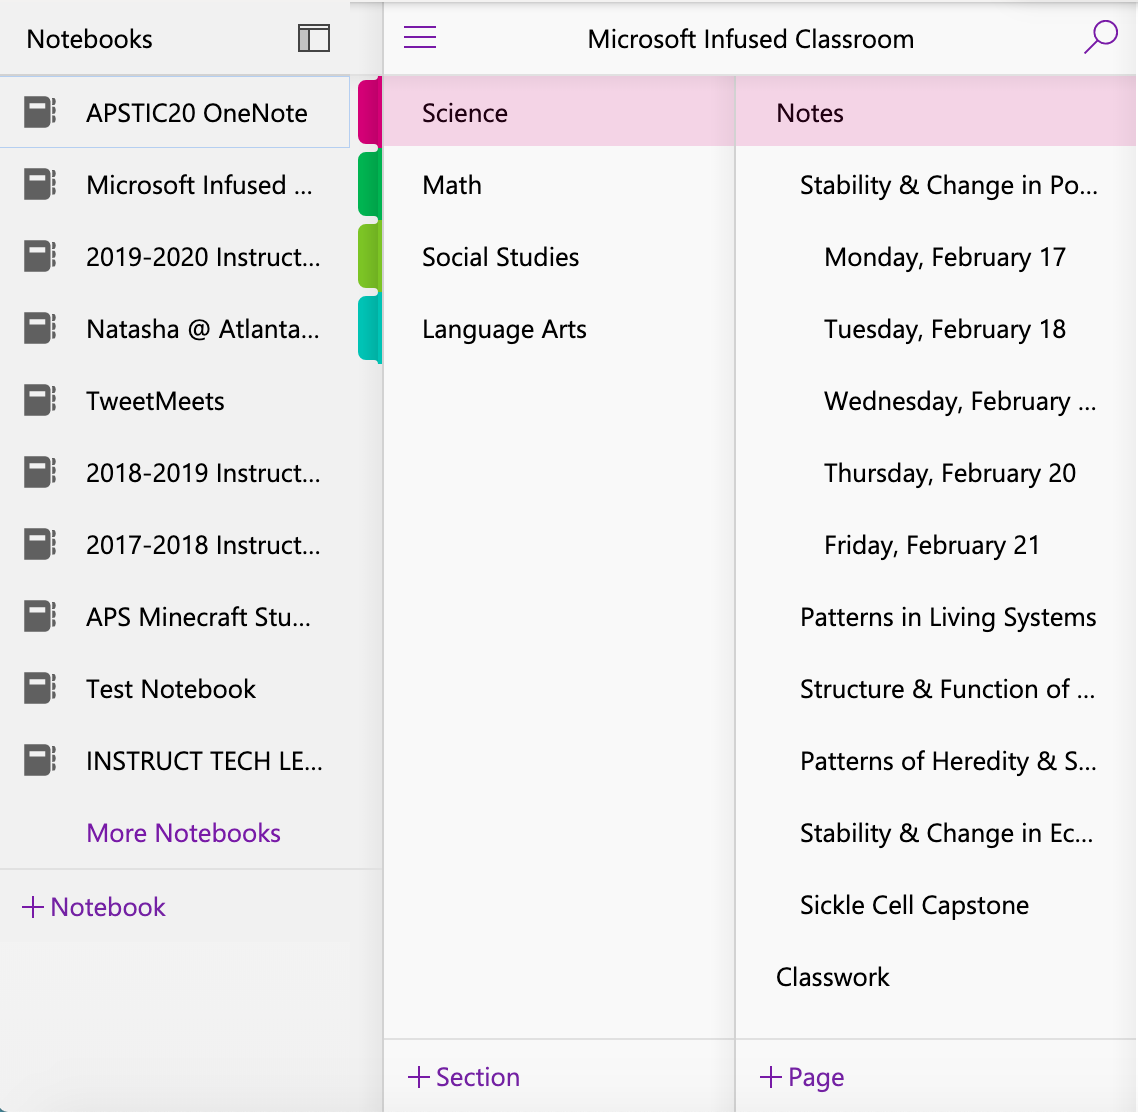
Take advantage of using the Notebooks, Sections, Pages and Subpages within OneNote. Let me say this first! You have to figure out how to organize your OneNote in a manner that works for you! A lot of students and teachers will use ONE OneNote notebook for all of their notetaking, which is fine if that works for you. You could also personalize your OneNote and create a new notebook for each content area (ie. math, science, social studies, language arts). Within each notebook I recommend that you organize your sections into: notes, classwork, homework, additional resources, etc. Within the notes section (for example) a student could create a new page for every unit they are studying or one new page for each date they take notes, etc. Each student’s notebook could look different to differentiate their learning experience from their classmates. Again, do what works for you and encourage your students to do the same!
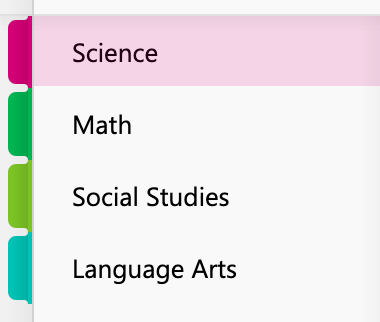
Color code the Sections within your notebooks. If you’re a visual learner like I am, this makes all the sense in the world! Color coding your Sections keeps everything separate, neat and organized! You can even color code the entire page (Select View, then Page Color)! We all learn different so having a small personalization like the color of a page could make all the difference to some of your students. This is also a great tip for some of your students with visual impairments that need that text to pop off of the page to make it easier to read.

Password protect sections if you need added security. If you have a section that requires a little more security, you can password protect them! Password protecting sections is also a GREAT way to use OneNote to incorporate digital breakouts in your classrooms!